Khanom Chan – How to Make Thai Steamed Layered Dessert
Learn how to make this chewy, layer upon layer dessert of sticky sweet goodness
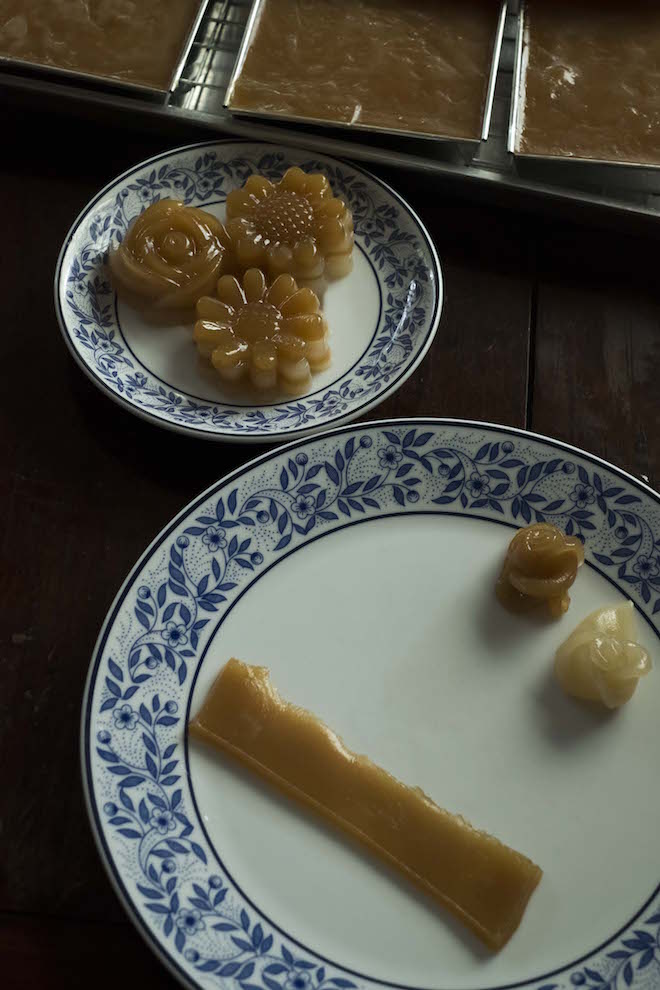
Khanom Chan is a steamed Thai layered dessert. It is made by pouring a flavoured sweetened coconut milk mixture and steaming it in small metal or silicon moulds, then layering it with an unflavoured/coloured sweetened version of the same coconut milk mixture. This layer by layer steaming method produces a beautiful effect and contrast of colours -chewy in consistency like a soft gummy bear, and when made well the layers can be pulled apart individually like soft fruit leathers.
Traditionally pandan (green) or butterfly pea flowers (purple) are used for the coloured base layer, and contrasted by a layer of coconut milk mixture, but in this recipe we used coffee flavouring for the coloured layer – which is just as aesthetically pleasing. If you do have access to butterfly pea flowers – soak them in warm water, remove them from the water and squeeze a little lime into the water which adds to the colour. Use this natural mixture as your colouring. In Australia, I would head to your local Thai or Asian grocer and ask them whether they stock these flavourings or extracts, if not this website seems to stock pandan extract online, while butterfly pea can be ordered here.
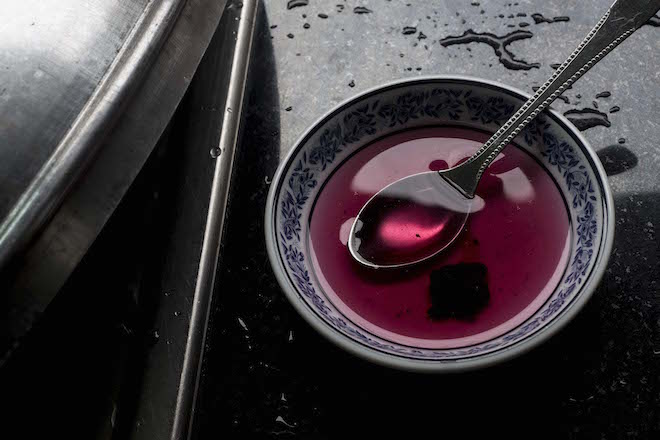 Lac colouring, made by soaking lac resin in water
Lac (laccifer lacca), a resin produced by tree insects is also used for the coloured layer in Khanom Chan. This colouring is created by soaking lac resin in water, and will yield the stunning rose colour above. In Thailand, lac resin is found at local food markets, in Australia it can be found online.
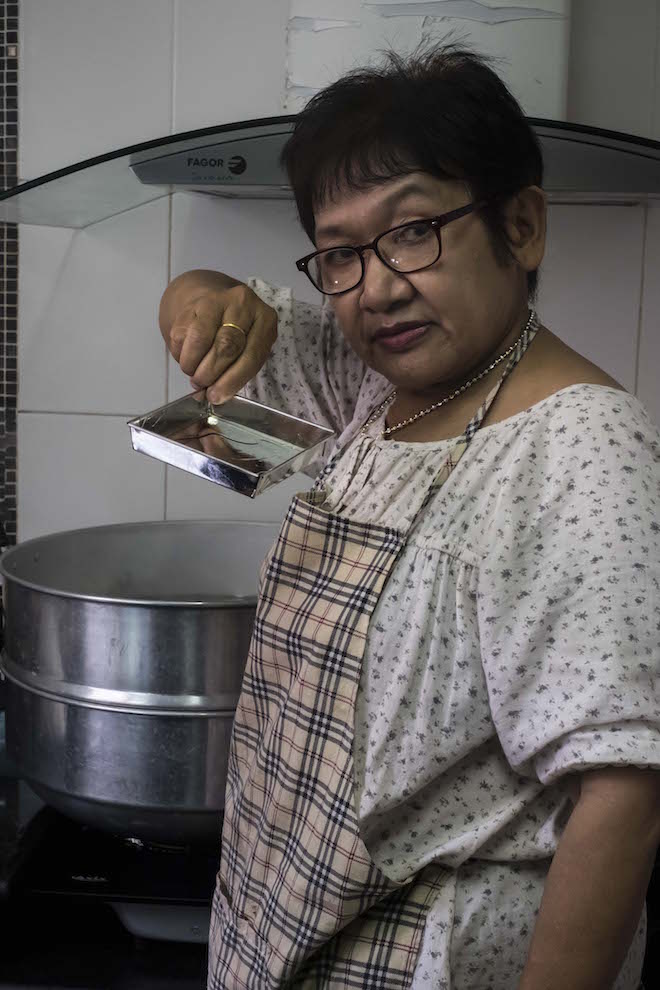 Kru Oy – who led our Khanom Chan class is a local Thai cook in Phitsanulok who taught home economics for over 20 years at the local vocational college
Khanom Chan
Makes 10 small metal molds (10cm (w) x 10cm (l) x 2cm (h)) and 3 small silicon rose molds
7 cups coconut milk (fresh if possible)
4.5 cups caster sugar
3 heaped cups tapioca starch
1/2 cup rice flour
1/4 cup pandan, butterfly pea flower or coffee flavouring
Rice bran or neutral flavoured vegetable oil for greasing molds
Equipment/
Metal tray molds
Large steamer pot with lid
Large tray
Muslin cloth for straining mixture
Three large mixing bowls
Two ladles or large spoons
Folding hot dish tongs (to remove the hot molds)
Optional/
Silicon flower or rose molds
Method
To begin the process of making Khanom Chan, fill the steamer pot base with water and bring to boil on medium to high heat with the lid secured on top – keep the water boiling throughout the entire steaming process
Stir sugar and coconut milk together in one of the large mixing bowls until sugar dissolves
Add in the tapioca starch and rice flour
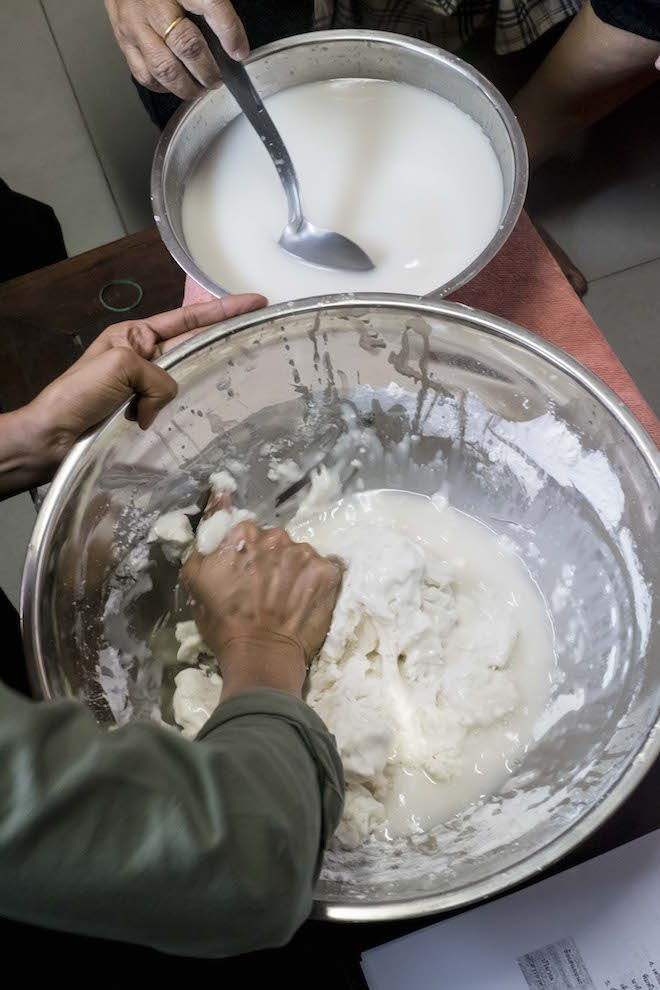
Slowly add the coconut milk into the mixture and knead the mixture. The longer you knead the mixture, the chewier the layer cake will be – so keep kneading!
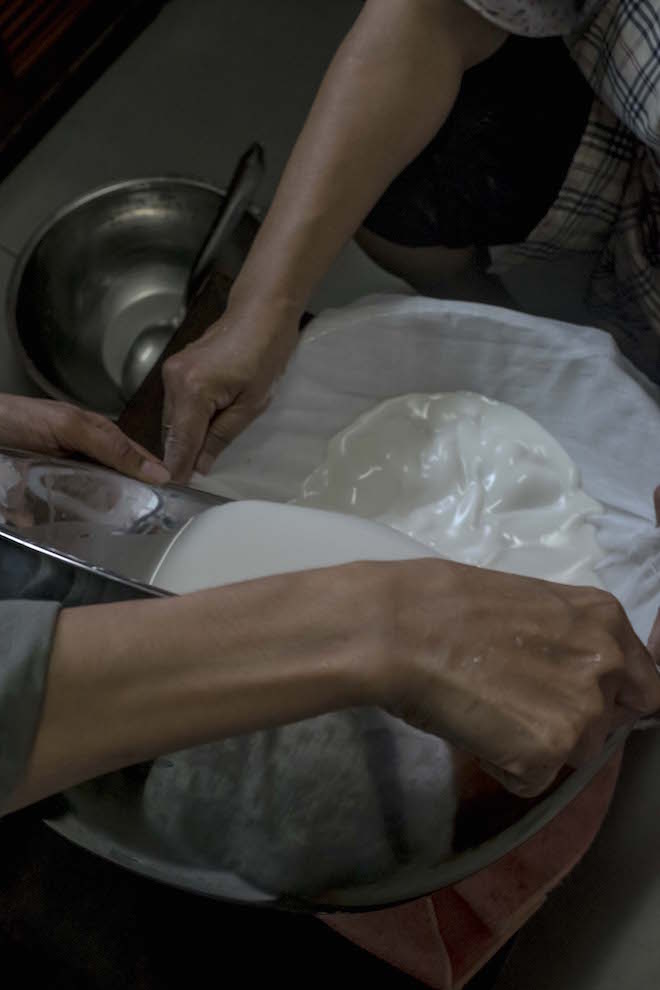 Straining the coconut mixture
Strain the mixture over the second large mixing bowl using the muslin cloth. This removes any clumps or sugar.
Discard the strained solids, and divide the remaining coconut mixture equally into the two bowls. Add the flavouring to one of the bowls, stir both mixtures thoroughly
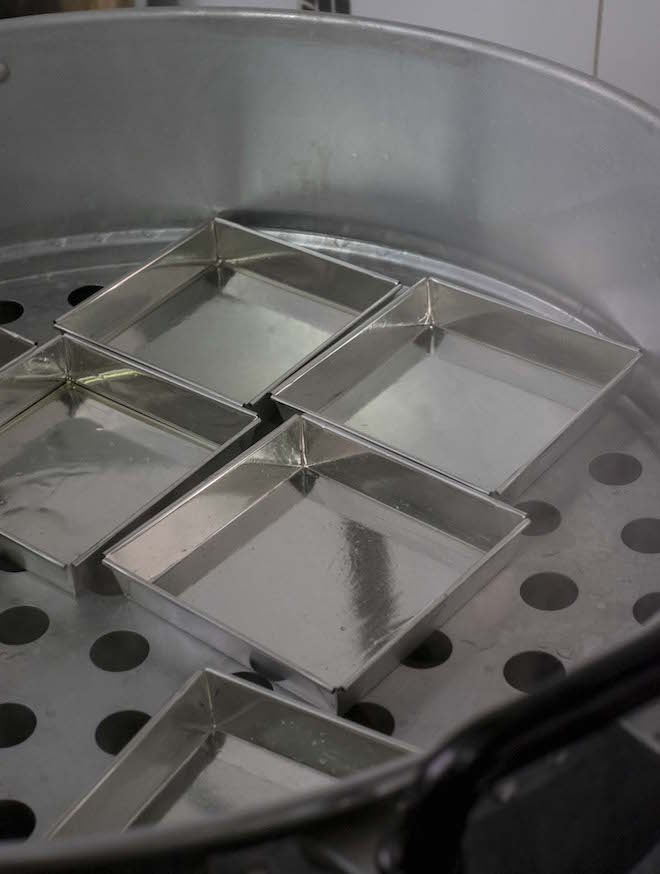
Five minutes before you are ready to start filling the molds and steaming them, ensure the molds are oiled and place them on the steamer pot with the lid on to heat up
After five minutes, lift the lid off the steamer pot, and bring the two bowls close to your stove top with a ladle for each
For the metal molds, the bottom of the Khanom Chan has to be white (the plain coconut mixture) while the final, top layer will be the coloured mixture (in this case, coffee coloured). For the rose or flower silicon molds, see the ‘notes’ section.
 Filling the molds
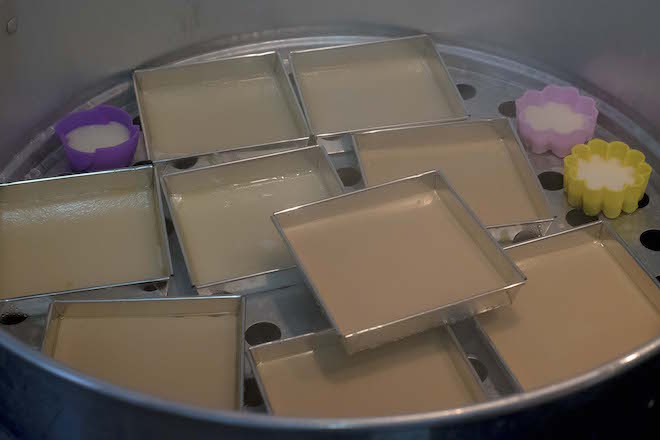
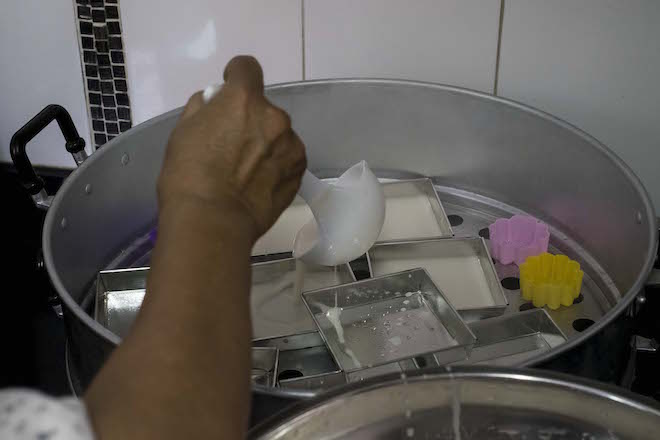
Pour half a ladle of the plain coconut mixture into each metal mold first, and ensure the base is completely covered with the mixture as per the photo above. Once the trays have been filled with a thin layer of the coconut mixture each, place the lid on the steamer and steam the Khanom Chan for five minutes. Not all of the trays will fit into the steamer so you will have to work through them in batches
After five minutes lift the steamer pot lid and check on the first Khanom Chan layer – you should be able to lightly touch it. There should be no liquid and it should feel sticky – if this is not the case steam them for a little longer checking on the layer until it reaches the perfect consistency described
Once the first layer has steamed to the ideal consistency, ladle out an equal layer of the coffee flavoured coconut mixture into each mold. Place the lid on the steamer pot and steam for five minutes. Just like the first layer, after five minutes check the first layer for stickiness and lack of liquid and if this is not the case steam them for a little longer checking on the layer until it reaches the perfect consistency
Repeat the ladling out of each layer process – alternating between the coconut and coffee mixture (should be roughly about seven layers in total), and steam each layer for five minutes until you have filled the tray to its brim. Before ladling out each layer, make sure you give the mixture a good stir so the flour doesn’t settle to the bottom
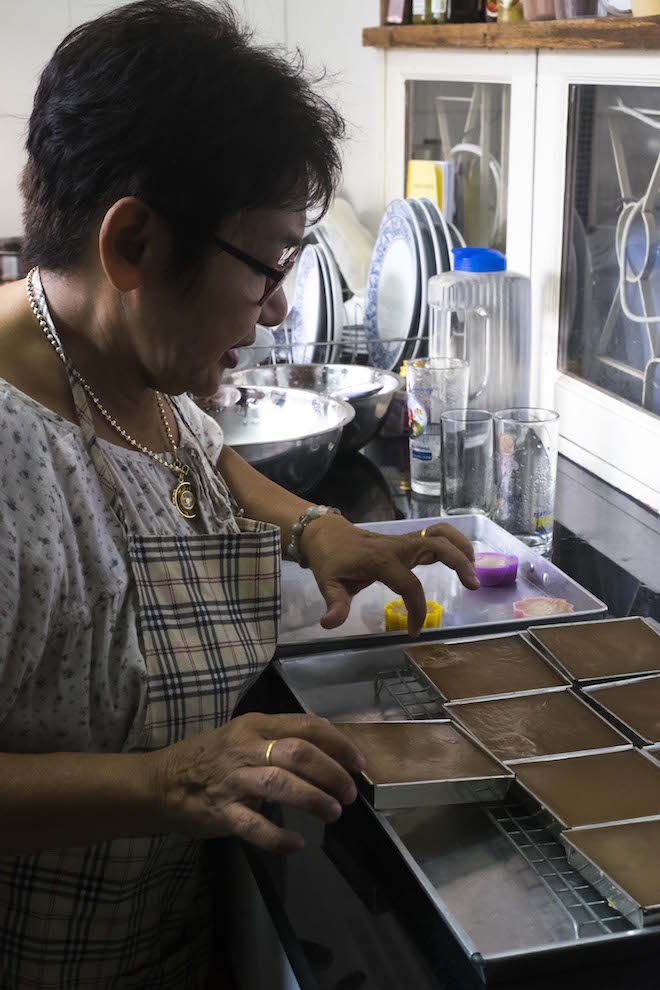 Kru Oy checking on the Khanom Chan as they cool down
Once the final layer has been ladled out and steamed, use the folding hot dish tongs to place the molds onto a large tray filled with room temperature water to allow the molds to cool down
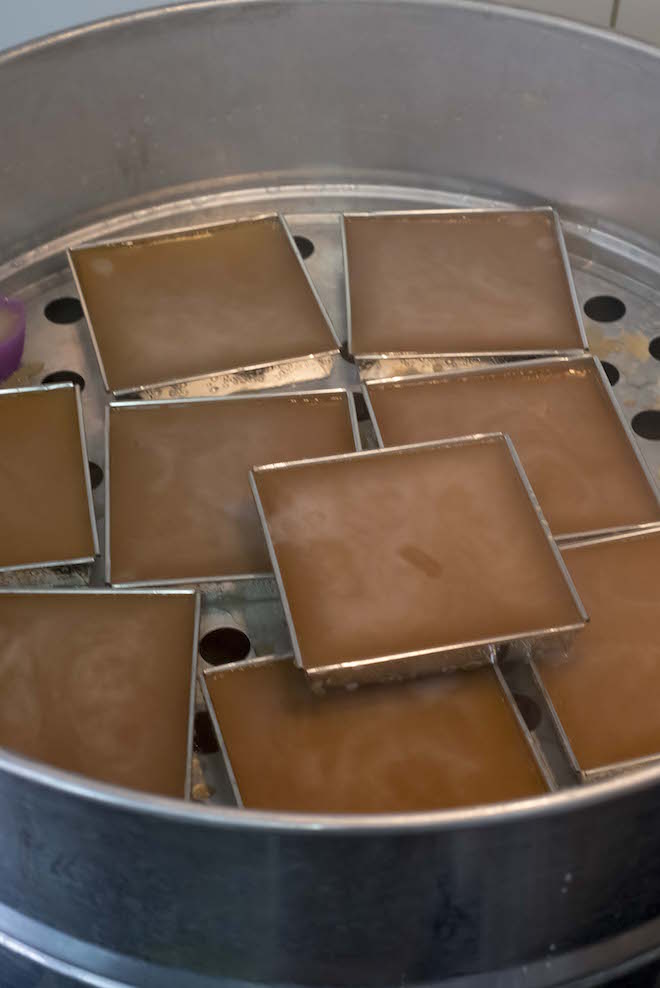
If after steaming the top or bottom of the desserts are a little discoloured (see image above), rub them lightly with a little bit of rice bran or neutral flavoured vegetable oil to make them shiny and smooth
After the Khanom Chan cool down, ease them out of the molds with a knife and place onto serving plates. Bite into them directly, cut them into bit-size pieces with a fork, or peel them layer by layer. Enjoy!
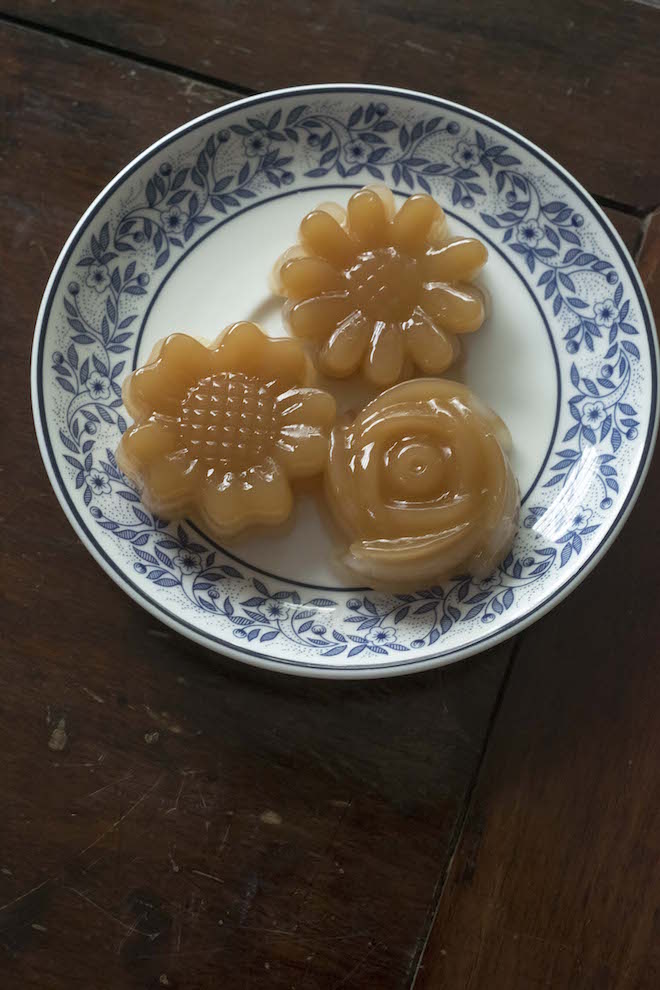 The final result of layered goodness
Notes: Khanom Chan must be eaten on the same day it’s been made. Refrigeration will harden the dessert.
For the rose or flower silicon molds, start with the coloured layer first as the top of the flower or rose is upside down and when removed from the mold will be facing the right way up.


